
BMW S1000R/RR Fender Eliminator Kit Instructions
1) Remove the seat from your bike and unplug OEM connectors for plate light and tail light.
2) Remove (2) T25 torx bolts underneath bike to take off stock tail section. (Picture 1)
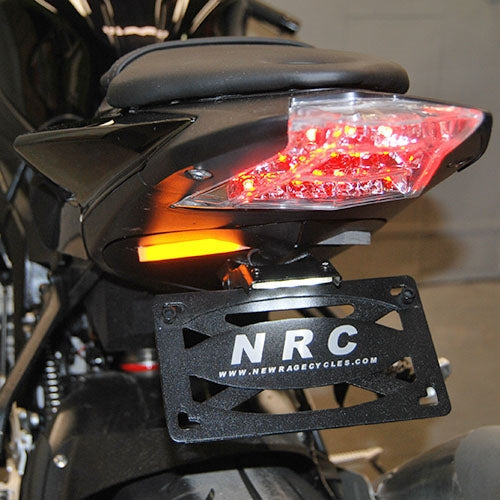
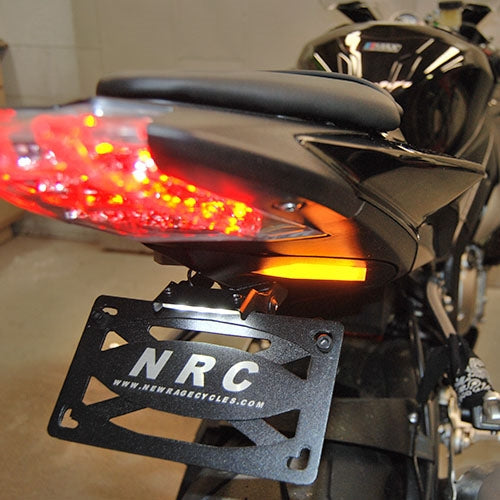
3) Assemble your new tail light by mounting the license plate bracket to the tail light with provided M6x10 bolts and M6 nuts. You will also have (2) plastic plugs that pop into the 2 holes not used. The standard version has a spacer block that is sandwiched between fender eliminator and the license plate. (Picture 2 and 3)
4) Underneath the seat, remove the OBD connector and shift it to its new location. (Picture 4)
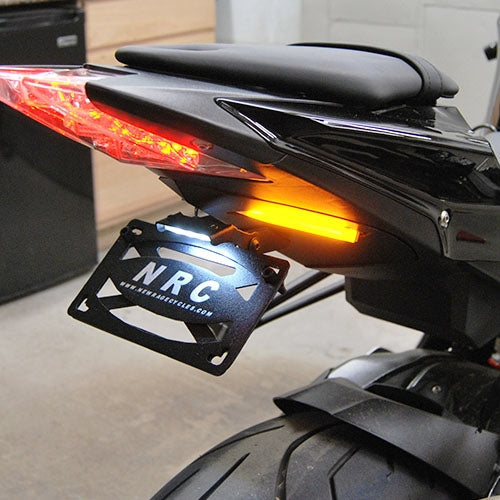
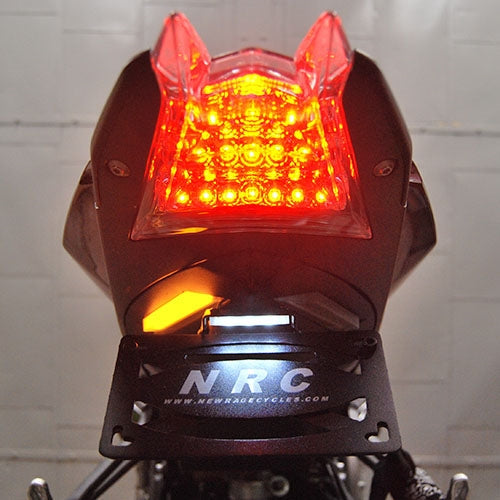
5) Set mounting hardware (4 of M5x35 bolts, 4 white spacers, and 4 push nuts) onto the fender eliminator. If you ordered the standard version, your plate light wire will feed through the center hole. If you ordered the tucked version, use the half inch plug for that center hole and feed your plate light connector around tail light and up through bike. (Picture 5)
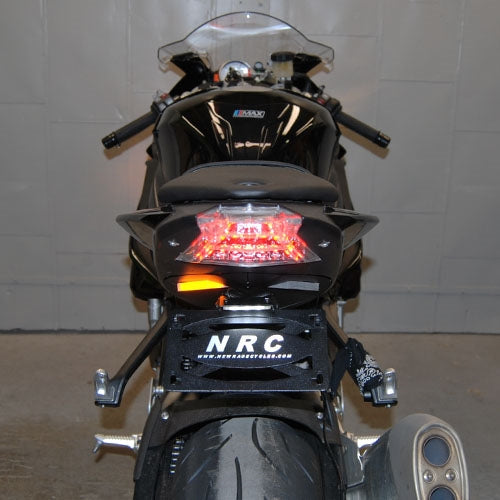
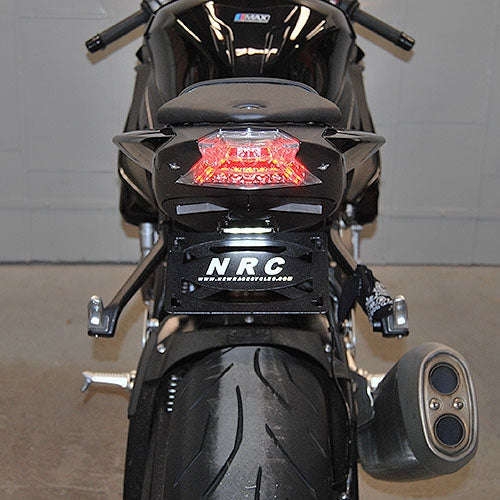
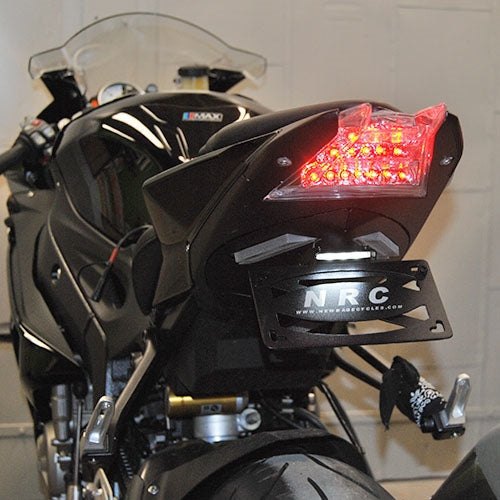
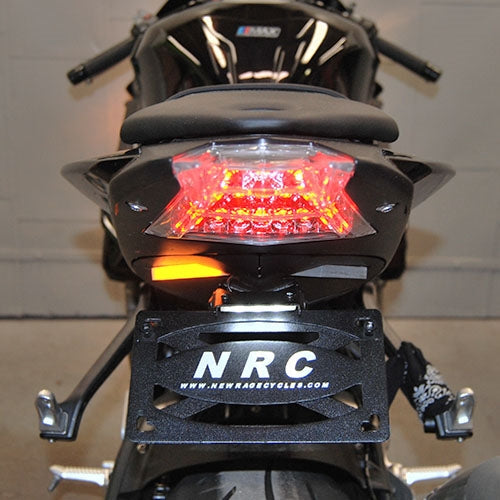
6) Mount fender eliminator onto bike using the provided nut strap. Start threads on M5 bolts closer to the rear of the bike first as those thread into the bike. Once started, thread bottom bolts through bike and into nut strap. Tighten everything once all bolts have been started. (Picture 6 and 7)
7) Use the (2) vinyl caps provided to cover the studs on the nut plate after bolts are tight and everything is installed, also making sure all wires are fed through proper holes. (Picture 8)
8) Plug in connectors and test to make sure everything is working properly.
Subheading
Shop The Part