
Ducati Scrambler 1100 Fender Eliminator Instructions
Ducati Scrambler 1100 Fender Eliminator Instructions
1) Remove (2) tail light bolts using a 3mm allen key. (Picture 1)
2) Unplug tail light, turn signal, and plate light connectors. (Picture 2)
3) Remove (3) tail light screws using a 4mm allen key. You will be reusing the top 2 later in the installation. (Picture 3)
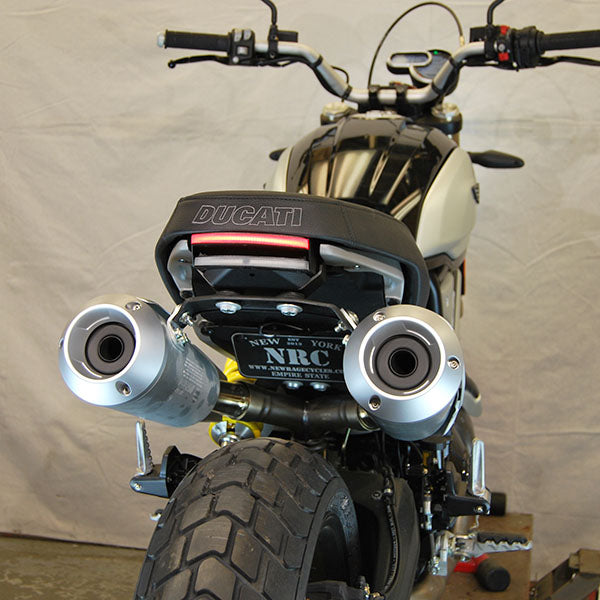
4) Remove (2) muffler bolts using a 6mm allen key. (Picture 4)
5) Remove (2) muffler hanger brackets using a 5mm allen key and 12mm wrench. You will be using these later in the installation. (Picture 5)
6) Remove upper fender bracket bolts using a 5mm allen key. You will be using these later in the installation. (Picture 6)
7) Remove lower fender mount bolts using a 5mm allen key. There is (1) on each side. If you are installing the tucked version of this kit, you will reuse this hardware later in the installation. (Picture 7)
8) Begin installing new muffler hanger mount using factory bolts previously removed, but leave the bolts loose at this time. (Picture 8)
9) If installing the standard kit, use the provided M6x16 bolt and start nut in the remaining hole. Leave the bolt loose at this time. (Picture 9)
10) If installing the tucked kit, take tucked bracket and mount reusing lower fender bolts removed in step 7. Use the provided 1/4” black spacers and use blue Loctite to secure. (Picture 10/11)
11) Reinstall stock muffler bracket using stock bolts and M8 nuts provided, leaving these loose as well. Disregard standard license plate in photo if you are ordered the tucked version as that bracket has already been installed in prior step. Once you have all bolts in place, tighten all of them down. (Picture 12/13)
12) Install new tail light by sliding under lip (left green arrow under right green arrow in photo 14). (Picture 14/15)
13) If you installed the standard kit, route plate light wire through gap in photo. (Picture 16)
14) If you installed the tucked kit, route plate light wire through gap in photo. (Picture 17)
15) Finish mounting tail light by reusing stock bolts removed in step 3. (Picture 18)
16) If you installed the standard kit, your plate is adjustable. Make sure you adjust to your desired position, and tighten these bolts to avoid issues. (Picture 19)
17) Plug in all connectors and test prior to riding.
Subheading
Shop The Part