
Honda CBR250R / CBR300R Fender Eliminator (2011-Present) Instructions
Honda CBR250R / CBR300R Fender Eliminator (2011-Present) Instructions
1) Remove grab rail bolts (yellow arrows) remove side pod bolts (white arrows) And clips (green arrows) pop the side cover off (blue arrows)
Tools needed
12mm socket and ratchet
10mm socket
Flat head screwdriver
2) Remove stock tail section harness (red arrow)
Remove tail light cover screws and cover (yellow arrows)
Remove belly pan clips (blue arrows)
Remove tail section bolts (green arrows) you will be using
these again later on the install
Tools needed
Phillips head screwdriver
Flat head screwdriver
12mm socket and ratchet
3) Remove the rubber tail light bumpers (red arrow) and install on the new tail light bracket (white arrow)
The (green arrow) is the stock bolts that you are going to be using in the next step
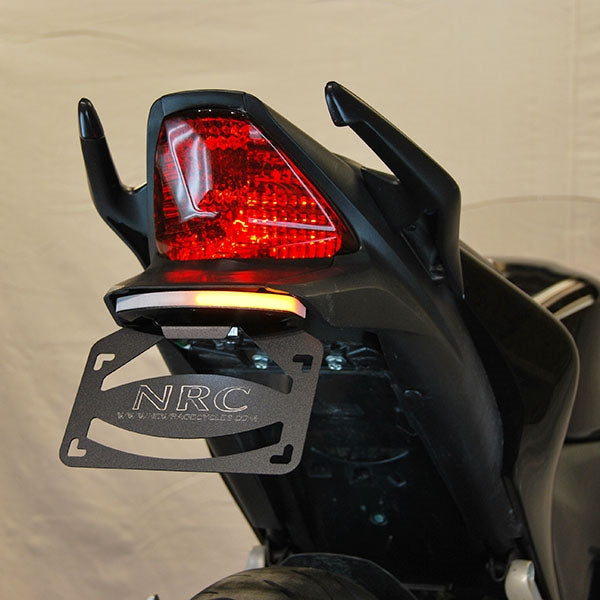
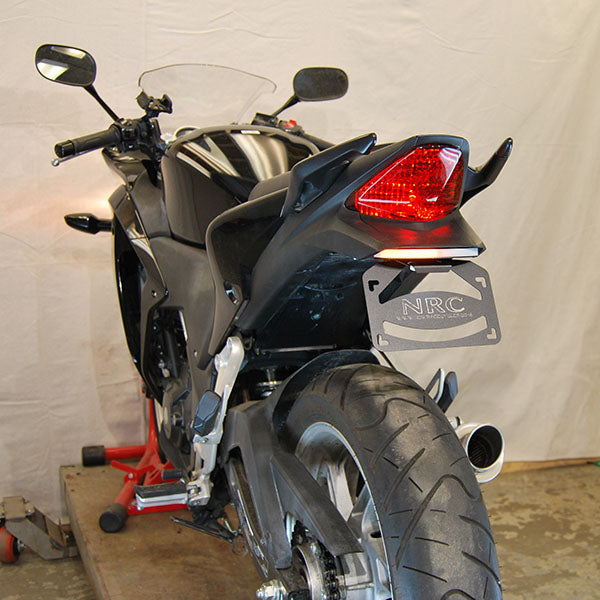
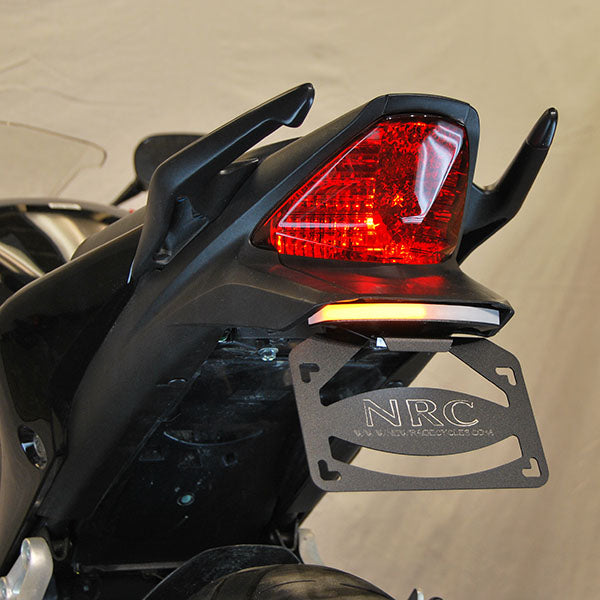
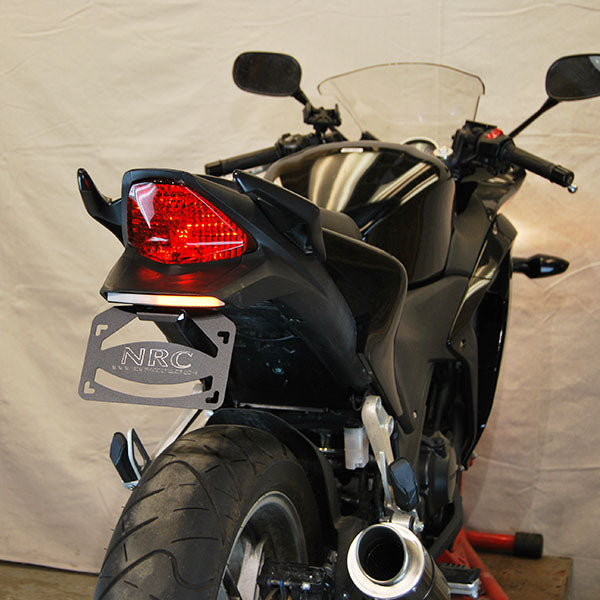
4) Install new NRC tag holder onto new turn signal bracket (yellow arrows) with provided hardware
Install new turn signal assembly and tail light bracket (green arrows ) using the stock bolts you removed
before. Reinstall tail light and body panels
Tools needed
10mm wrench
4mm allen key
12mm socket and ratchet