

Honda CBR600RR Fender Eliminator Instructions
1) Remove seats bolts with a 5mm allen key. (Picture 1)
2) Remove (4) bolts with a 4mm allen key and take off seat pod. (Picture 2)
3) Remove (1) plastic screw on each side of plastic. (Picture 3)
4) Unplug OEM connectors and remove (2) bolts with a 10mm socket to remove stock stalk. (Picture 4/5)
5) Remove (2) philips head screws and take off heat shields on both sides. You will be reusing these screws and the heat shields themselves in the next step. (Picture 6)
• Mount NRC heat shield brackets to stock heat shields using stock hardware removed in prior step. (Picture 7)
6) Take turn signal bracket, M6x40 bolts, and black spacers and mount onto the bike. (Picture 8/9)
7) Take M6x30 bolts, sandwich the heat shields in between and finish mounting kit. (Picture 10)
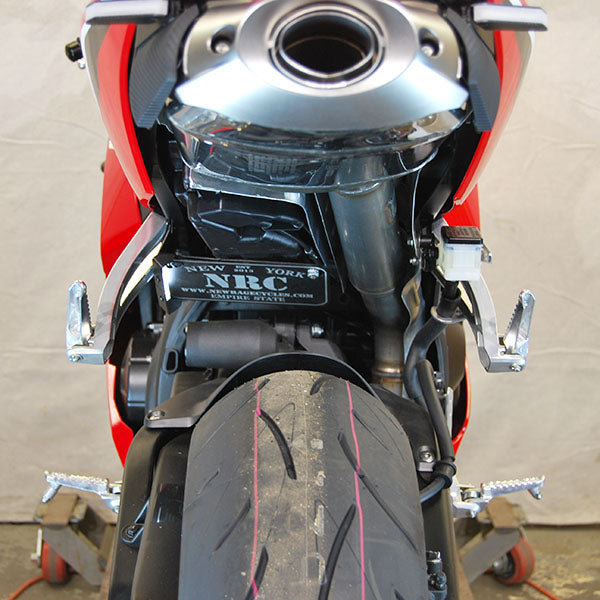
8) To mount license plate, remove passenger peg bracket using a 6mm allen key. (Picture 11)
9) Take license plate bracket and plate light and mount to passenger peg bracket in the following assembly. (Picture 12/13) • Stock bolts to Passenger peg bracket to Plate light bracket to License plate bracket
10) Take provided M6x16 bolt and star nut and thread in the bottom left hole on license plate bracket. (Picture 14)
11) Run all connectors to stock location, plug in, and test.
12) Remount all screws and plastics previously removed in prior steps.
Shop The Part
New Rage Cycles
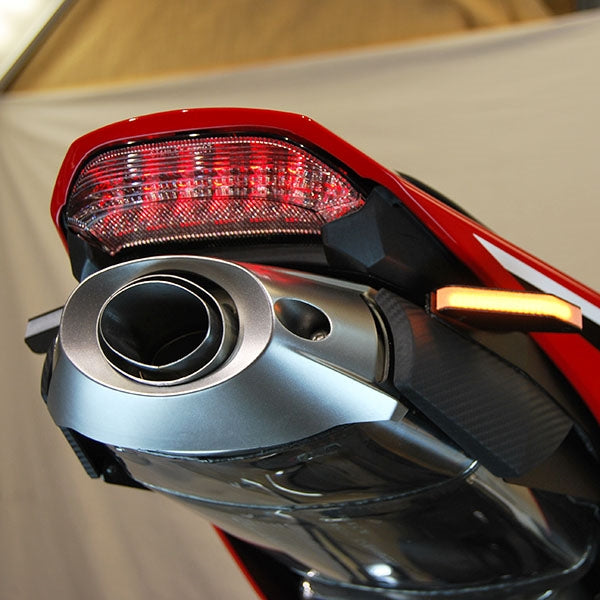
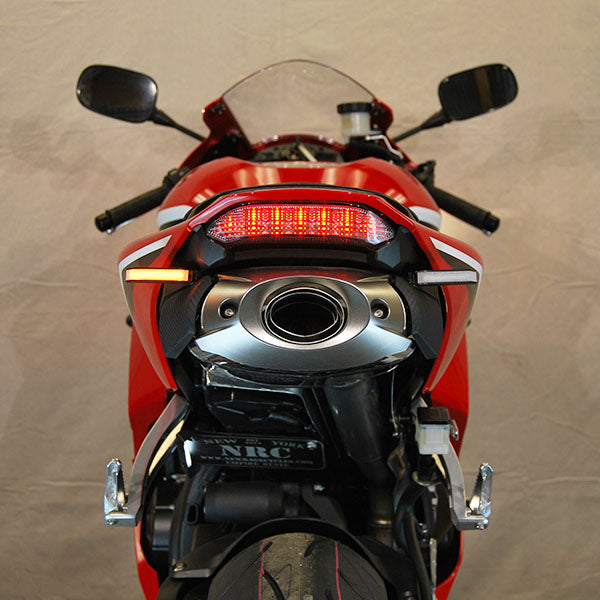
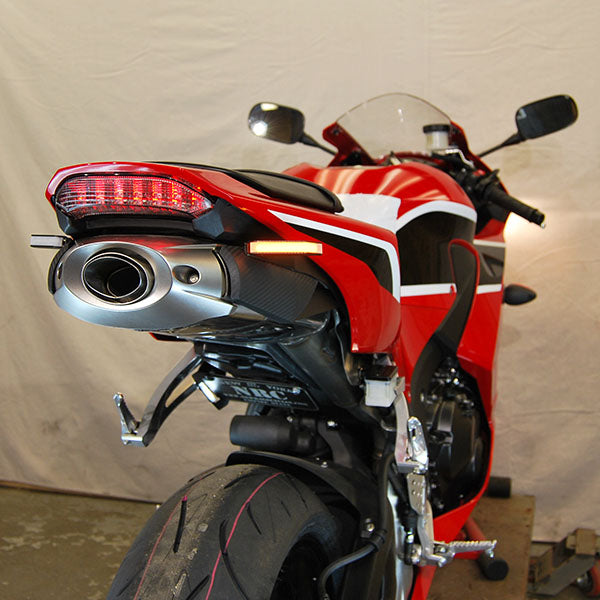
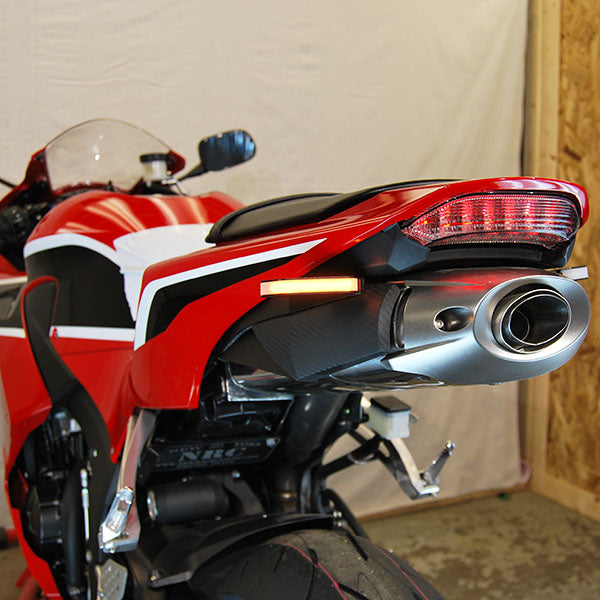
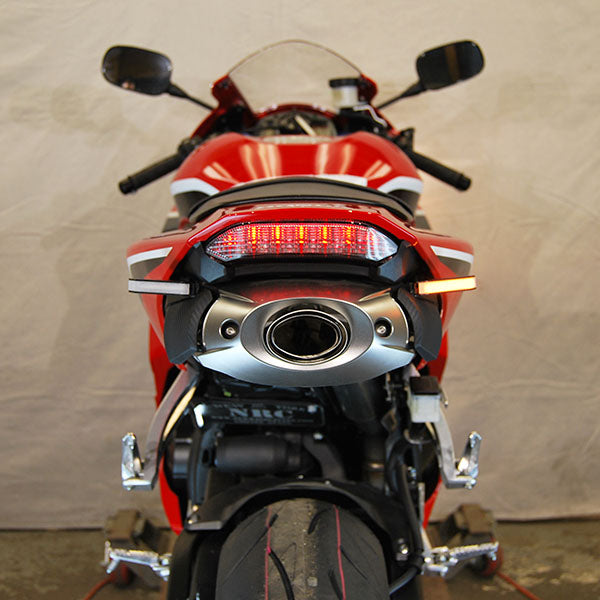
Honda CBR 600RR Fender Eliminator (2013 - 2022)
Plug-and-play fender eliminator for Honda CBR600RR riders is now available from New Rage Cycles.
- Brightest LED turn signals in the market
- Completely Plug & Play
- Black textured finish for professional look
- Proper flash speed; no additional modules required
Our plug & play kit saves you time and money on installation, and lets you plug right in and ride on!
(2013 - 2022)