Honda Grom Fender Eliminator (2013-2020) Instructions
1) Remove (4) hex bolts (picture 1)
2) Unplug (2) stock connectors and slide off stock tail section (picture 2)
3) Loosen (2) hex nuts and remove stock tail light (picture 3)
4) Disassemble stock tail section to expose wiring harness. You will need to remove shield and plate light housing to remove plate light bulb. Once that is removed, unplug barrel connectors and slide harness out completely (picture 4)
5) With provided M6x10 bolts and tooth washers, mount license plate bracket to tail light (picture 5)
6) Feed harness and all wires through and begin mounting tail light
7) Take M6x35 bolts with spacers already pressed onto them, and slide through rubber grommets, threading into c-clips (picture 6)
8) Take remaining M6x25 bolts and nylon nuts and mount through lower holes on tail light into frame (pictures 7/8)
9) Plug tail light harness back into bike as well as previously removed harness and be sure to plug all barrel connectors together
10) Remove license plate light bulb and wrap exposed with electrical tape
11) Take (2) blue t tap connectors and connect to plate light wires (picture 9)
● Green Black NRC wire
● Yellow Red NRC wire
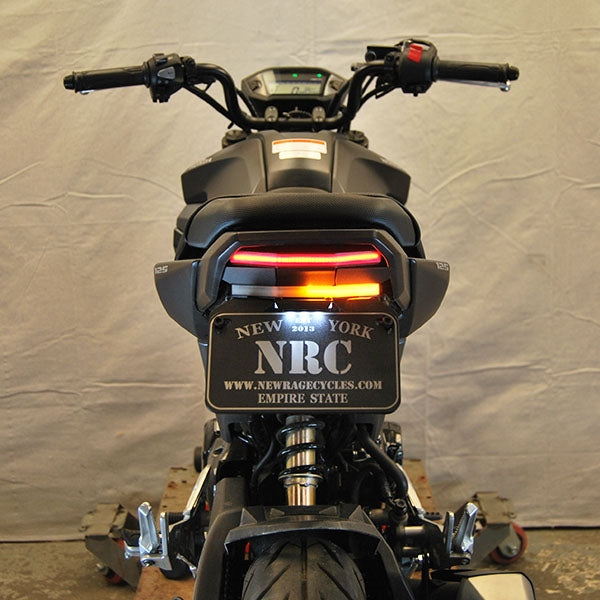
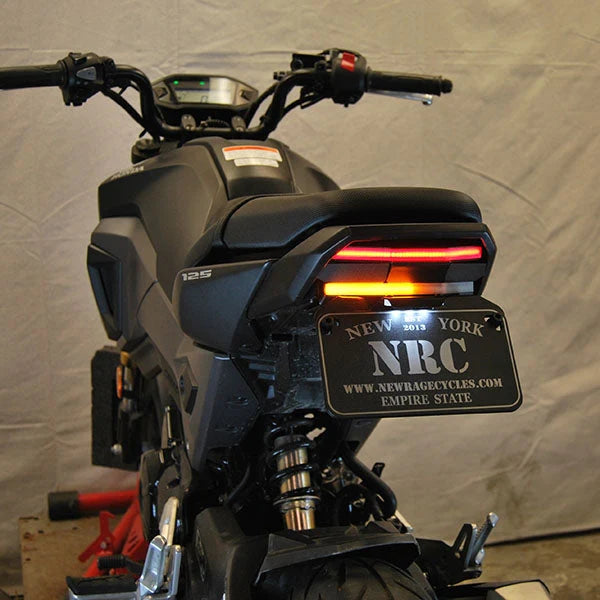
12) Test all connections (brake light, signals, plate light) before routing and tidying up all wiring
Subheading
Shop The Part