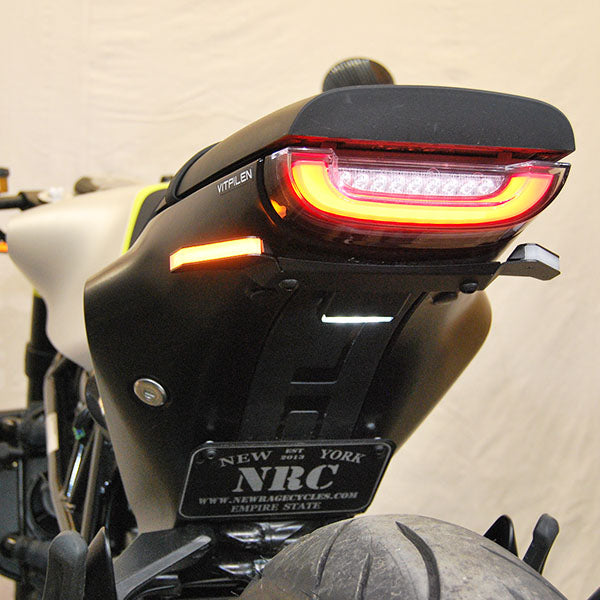
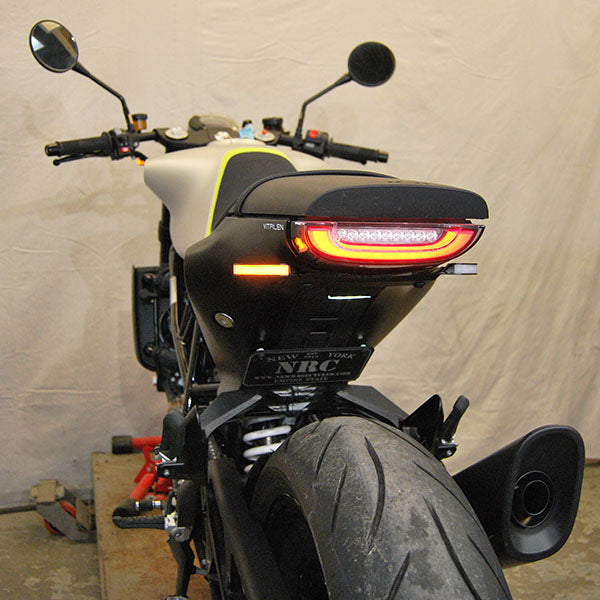
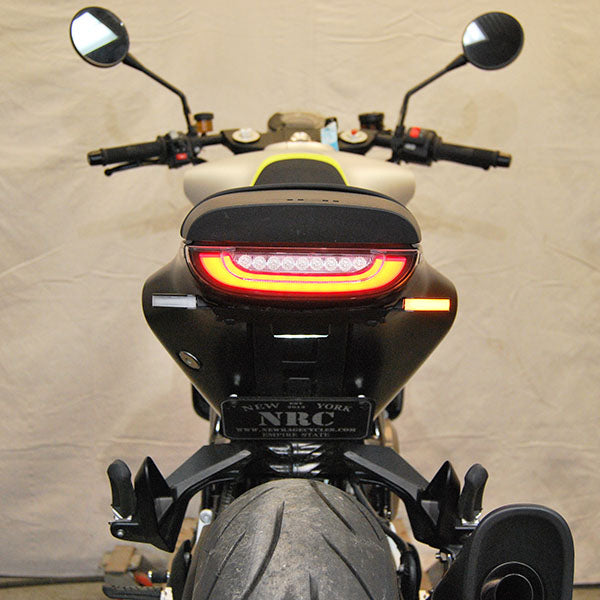
1) Remove (2) push pins. (Picture 1)
2) Remove (4) T45 torx foot peg bolts. (Picture 2)
3) On stock hugger, remove (4) bolts using a 4mm allen key. (Picture 3)
4) Remove remaining (3) bolts on hugger with 8mm socket. (Picture 4)
5) Unplug OEM connectors. (Picture 5)
6) Remove axle nut with 1.25” socket and slide off hugger bracket. (Picture 6)
7) Flip hugger upside down and remove (2) T30 torx bolts to free up harness. (Picture 7)
8) On end of hugger bracket, remove other (2) T40 torx bolts to remove harness all together. (Picture 8)
9) Route the harness up underneath the tank and end up underneath the seat. (Picture 9/10)
10) Drill a 1/2” hole into plastic center panel for wires to run through after installing NRC fender eliminator. (Picture 11/12)
11) Take rubber grommet and slide (2) turn signal connectors from NRC kit and (1) plate light connector and run them through the grommet and through drilled hole. (Picture 13/14)
12) Take (2) M8x30 bolts and (2) delrin spacers, and mount lens bracket into threaded holes on the bike. (Picture 15)
13) Plug all 3 connectors into OEM harness and test.
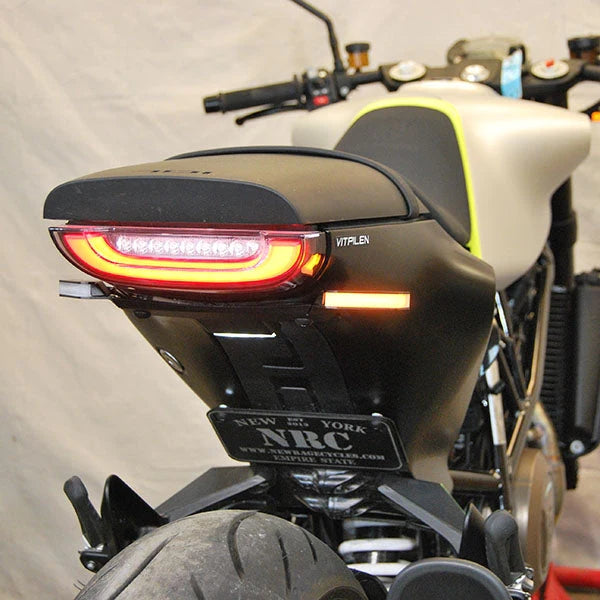
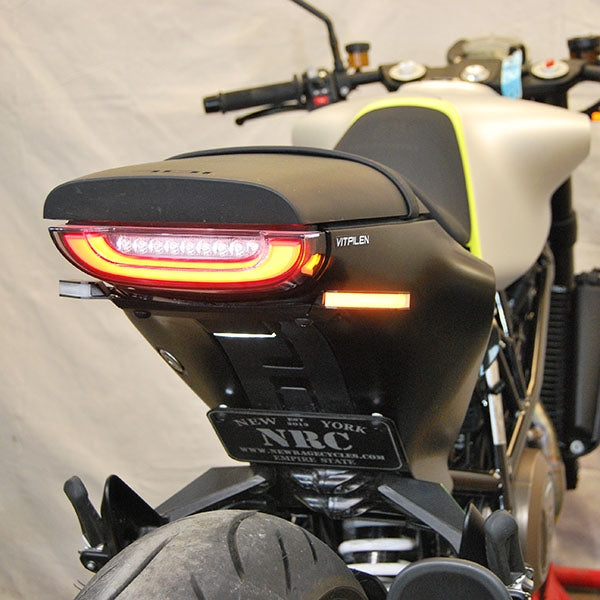
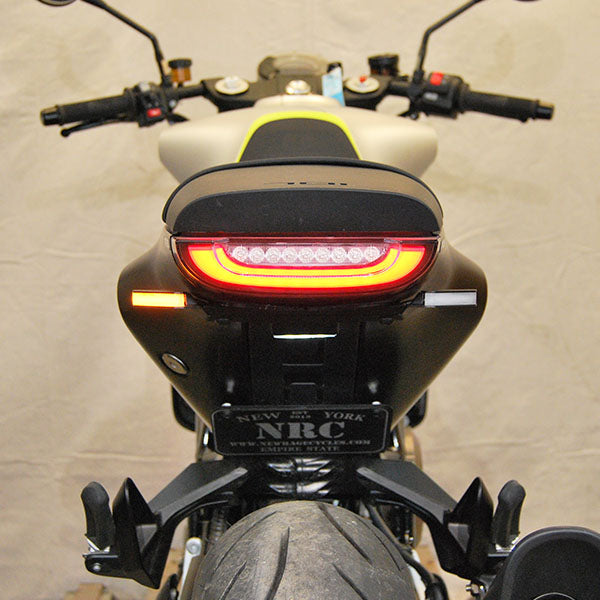
14) Take (2) washers and mount NRC license plate bracket using (4) stock bolts removed from passenger pegs. Washers are used on the 2 lower holes and license plate bracket mounts to upper holes. (Picture 16/17)
15) Take provided chain adjuster block and slide it over axle. (Picture 18)
16) Thread axle nut back onto the bike at 104 ft/lb torque. (Picture 19)
17) Zip tie wires if necessary
