
Indian FTR1200 Fender Eliminator Side Mount License Plate Instructions
1) Remove grab handles with a T40 torx. (Picture 1)
2) Remove seat bolts with a 6mm allen key. (Picture 2)
3) Remove rubber plug on swing arm, slide out wiring harness and unplug. (Picture 3)
4) Remove hugger bolts with a 6mm allen key. (Picture 4)
5) Remove (4) tank strap bolts with a 12mm socket. (Picture 5)
6) Remove (2) tank bolts. (Picture 6)
7) Reroute the harness you previously unplugged on the swing arm and bring up through the frame and place underneath the seat. (Picture 7)
8) If you ordered the tucked version, take the provided M6 bolts and flanged nuts and mount your license plate bracket to the turn signal bracket. Then take new turn signal bracket and provided M8 hardware and mount onto the frame of the bike (Picture 8 and 9)
9) Route connectors from new turn signals between the frame and tank and up underneath the seat. (Picture 10)
10) Plug the provided harness into the OEM harness pulled from the swing arm. Also take the turn signal and license plate connectors and plug them together. You may test everything at this point to ensure your left and right signals are correct. (Picture 11)
If you are installing the side mount license plate instead of the tucked plate:
1) Take the extension harness provided in the hardware bag, plug 1 end into the open connector on the grey wiring harness underneath the seat, and route back down to your swing arm. Use the provided zip ties to tidy up the harness down the swing arm. (Picture 12-15)
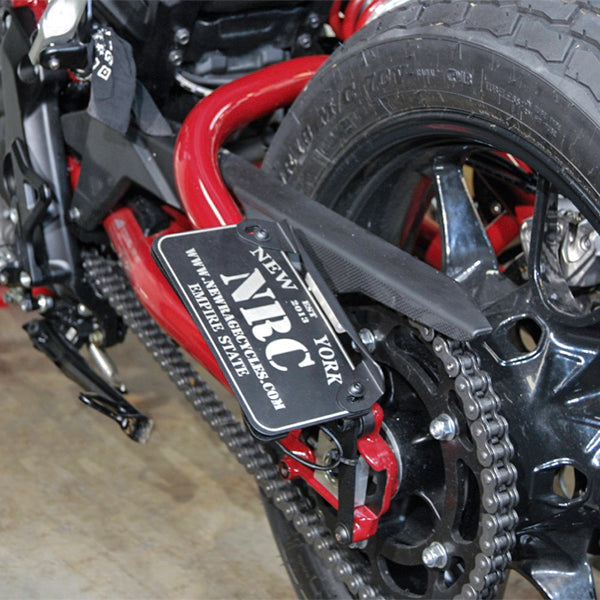
2) Now you may install the side mount license plate. Use 1 of the stock bolts previously removed and the provided spacer on the top hole and use the (2) M8 bolts on the left and lower holes. (Picture 16 and 17)
3) Zip tie the wires and route back to the connector brought down on the swing arm. (Picture 18)
4) Test turn signals and plate light.
5) Reinstall grab handles.
Subheading
Shop The Part