Kawasaki Z900 RS Fender Eliminator Instructions
1) Remove seat
2) Unplug turn signal and plate light connectors. (Picture 1)
3) Remove (4) allen bolts with 4mm allen key. (Picture 2/3)
4) Slide plastic off bike.
5) Remove (4) 10mm hex bolts and slide bracket out of the way to access fender bolts. (Picture 4) 6
6) Remove (4) allen bolts with 5mm allen key and slide off stock tail section. You will re-use these bolts so do not misplace them. (Picture 5)
If mounting in standard position
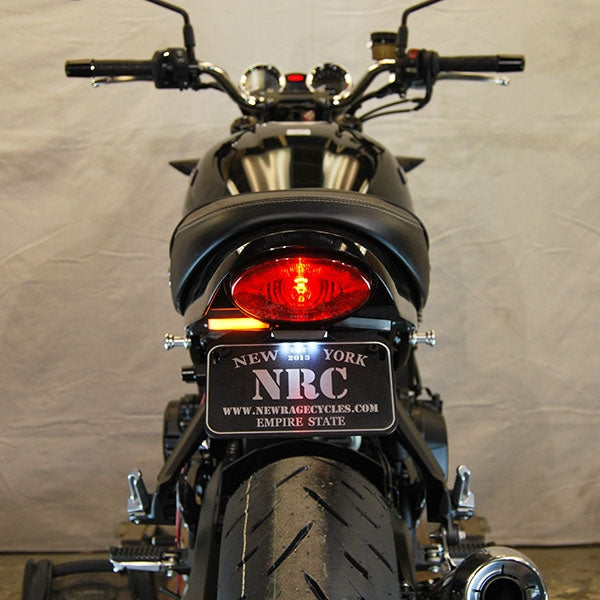
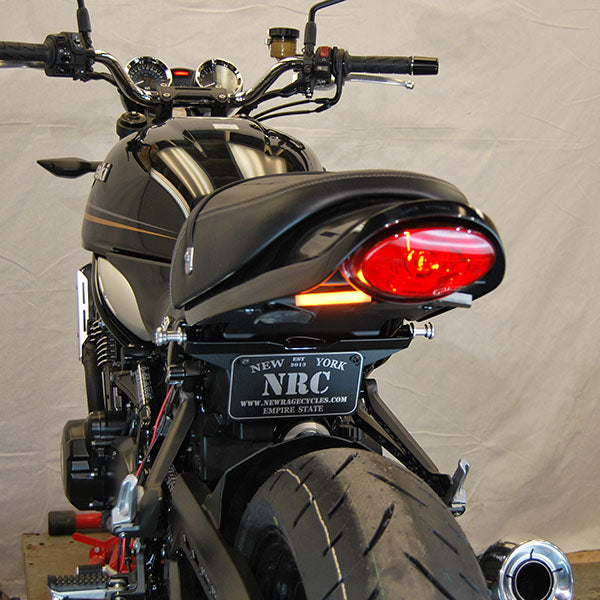
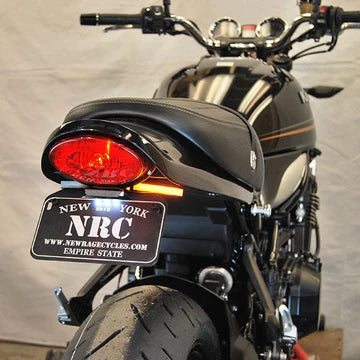
1) Mount NRC license plate to fender eliminator with M6x10 bolts and tooth washers. (Picture 6)
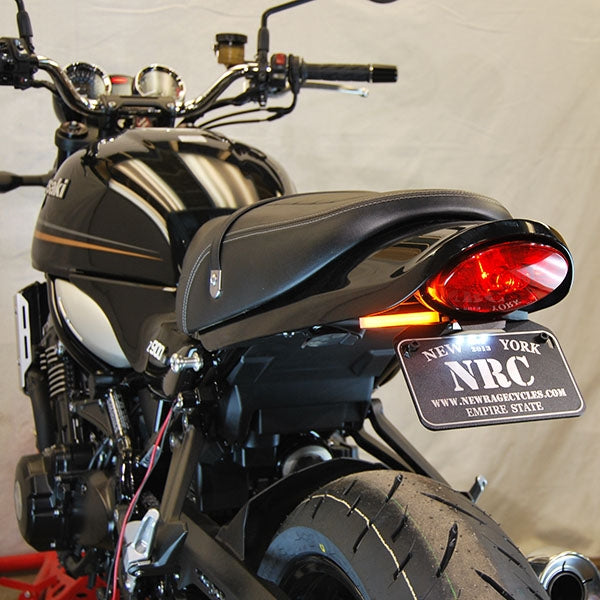
2) Take (4) stock bolts noted in prior step, provided aluminum washers, M8 nylon nuts, and mount tail light onto bike. Feed connectors through body panel, slide bolts through holes and secure nuts on backside. (Picture 7/8/9)
3) Reinstall bracket previously removed in step 4.
4) Reinstall top plastic section.
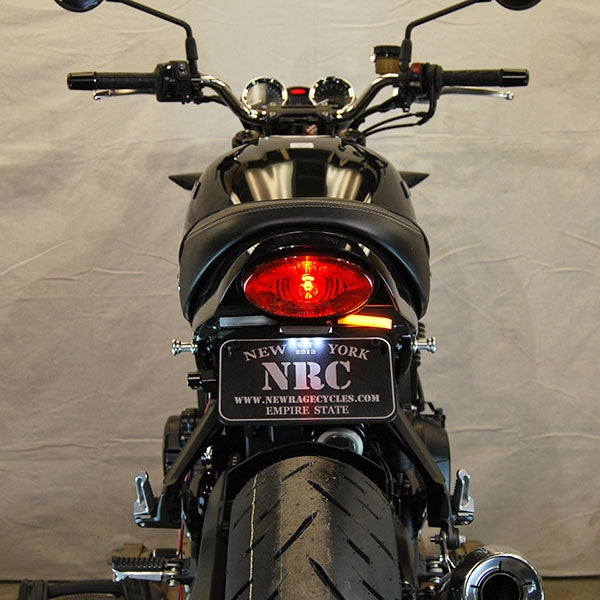
5) Plug connectors in and test all connections. The plate light connector has (2) female spade connectors that slide into the 2 pins inside the stock plate light connector. (Picture 10)
If mounting in tucked position
1) Take (4) stock bolts noted in prior step, provided aluminum washers, M8 nylon nuts, and mount tail light onto bike. Feed connectors through body panel, slide bolts through holes and secure nuts on backside. (Picture 7/8/9)
2) Use (2) plastic 1/4” plugs to close up 2 holes on turn signal bracket.
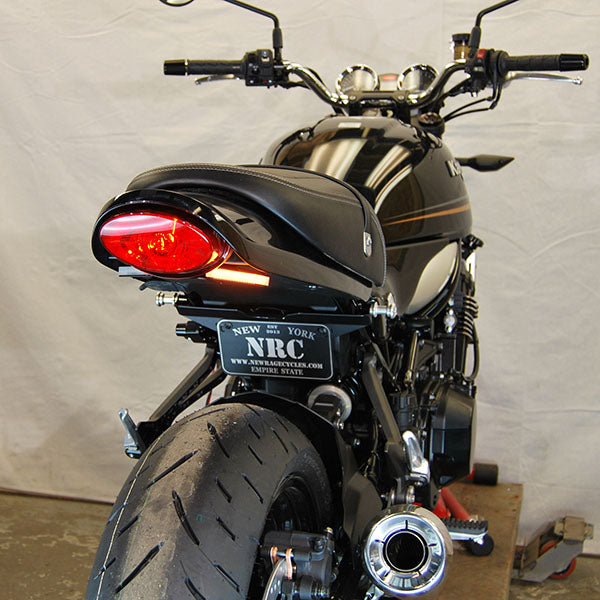
3) To mount tucked bracket, remove (2) strap bungs with 6mm allen key, and slide tucked bracket between frame and strap bungs. You may mount your license plate to the tucked bracket at this time or after – whichever is easier for you. (Picture 11/12)
4) Feed plate light wire up underneath seat and plug into 2 pins inside the stock plate light connector. (Picture 10)
5) Reinstall bracket previously removed in step 4.
6) Reinstall top plastic section
7) Plug connectors in and test all connections.
Subheading
Shop The Part