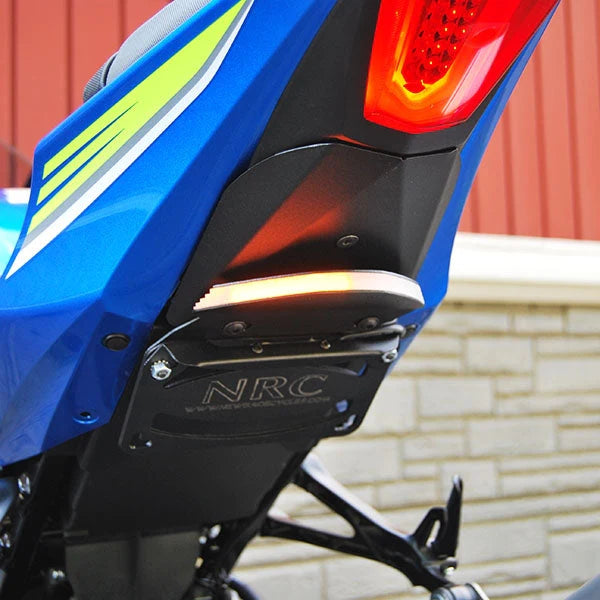
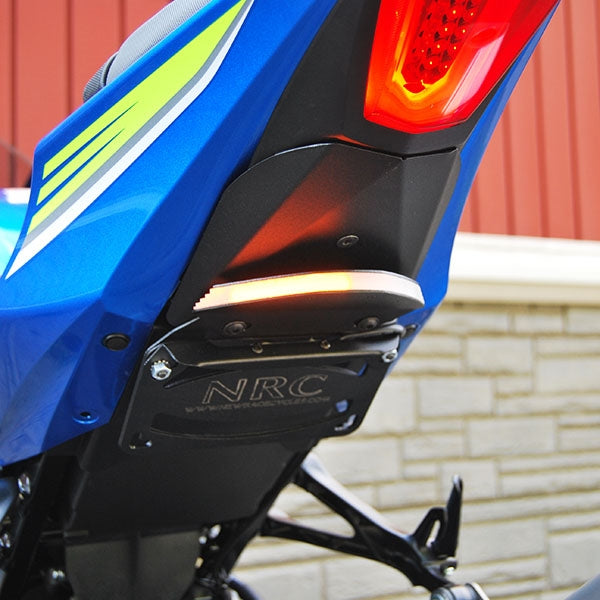
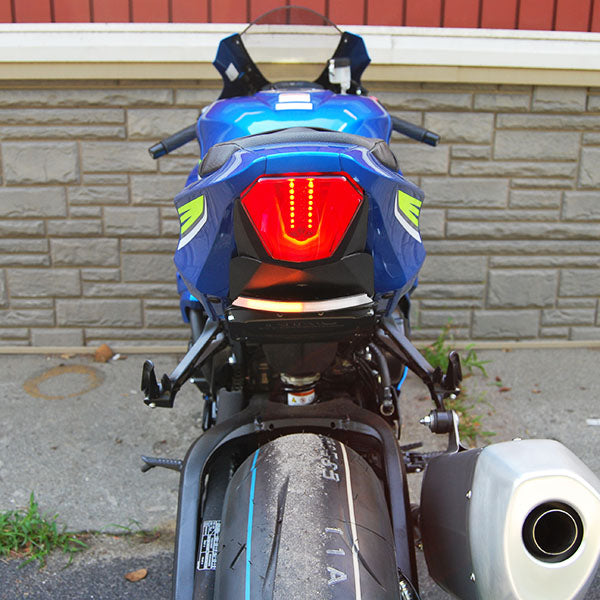
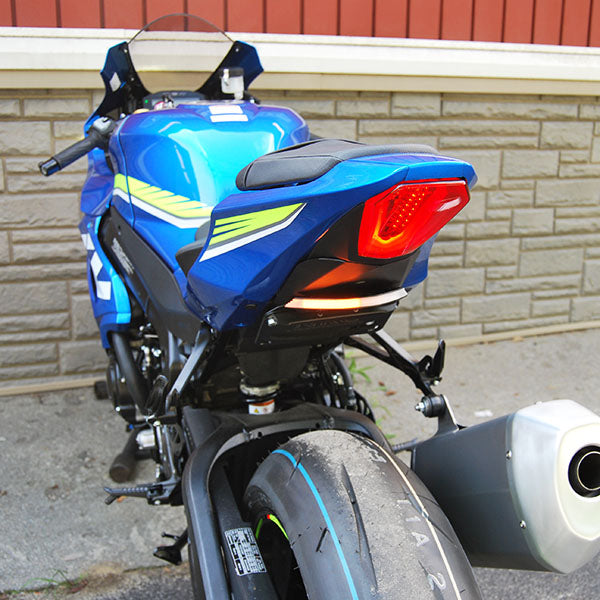
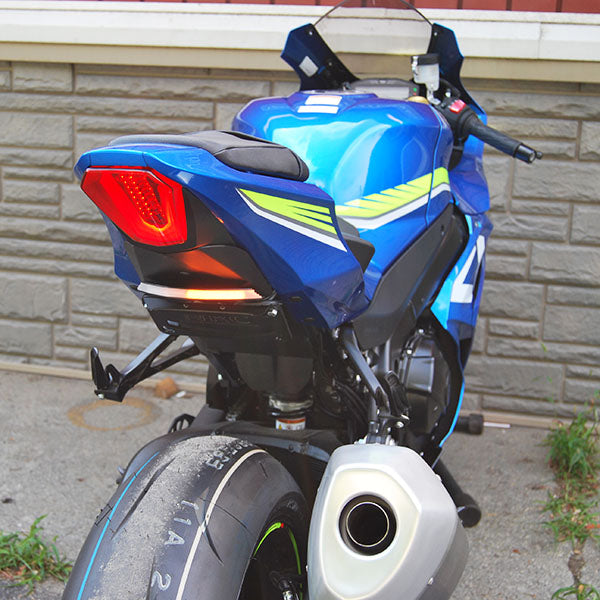
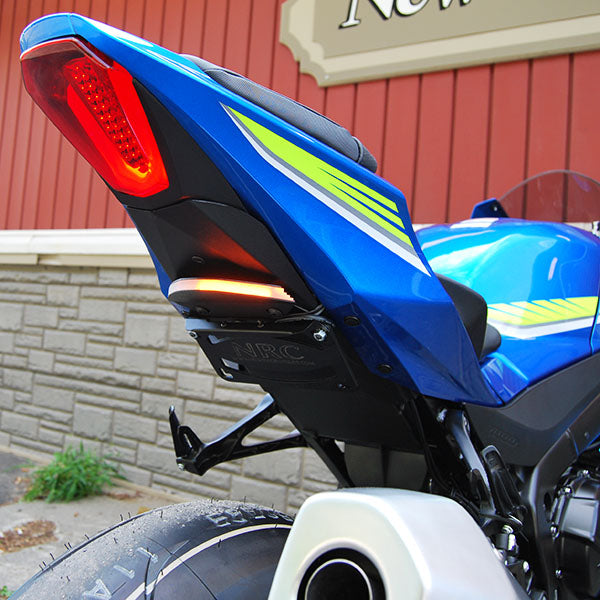
Suzuki GSX-1000R Fender Eliminator, Tucked Installation Instructions
1) Remove (2) side pods from bike (picture 1)
2) Unscrew seat and remove
3) Disassemble entire plastic cowl by a series of push clips and screws (picture 2)
4) Unplug connectors for turn signals and plate light
5) Remove all hardware from inner fender shield (picture 3)
6) Remove (4) remaining bolts holding fender on, 2 on each side (picture 4)
7) To mount provided strap, reuse (2) hex bolts and shims (picture 5)
8) Slide well nut into hole (picture 6)
9) Begin mounting tail plate by threading 10-32 torx bolt into well nut
10) With (2) 1/4” spacers, and (2) M6x25 bolts, mount fender eliminator in the following sequence: (picture 7)
• Bike to Belly Pan to License Plate Bracket to Spacers to Turn Signal Bracket to Bolts
11) Plug connectors in
12) Put the body / plastics back together and re-mount seat

