Suzuki M109R Read LED Turn Signals (2006-Present) Instructions
- Remove front and rear seat as well as rear body panel with screwdriver and allen keys.
- Unplug the stock tail light harness
- Using a utility knife, cut off stock license plate and turn signal bracket.
- Put the body panel back on (loose) without tightening down the screws.
- Remove your new sequential turn signal bracket and place underneath the body panel. The brakcer can be mounted flush so it follows the contour of the rear fender OR you may mount it leaving a
¼" reveal.
- With the bracket held in place, mark 3 holes to be drilled.
- Remove back body panel.
- Use a 3/16" drill bit and drill your mounting hole locations.
- Mount your turn signal bracket with the provided hardware, aligning in your desired location and tighten screws.
- Take the provided Sequential module and wire as per the diagram below. (Diagram below)
- Use duct tape to hold the modules in place on both sides of the inner fender as well.
- Remount your rear body panel.
- Test your signals to ensure the proper blinking sequence
- Remount front and passenger seats.
- If you are not installing the sequential module, wire directly to your stock wiring harness.
Subheading
Shop The Part
New Rage Cycles
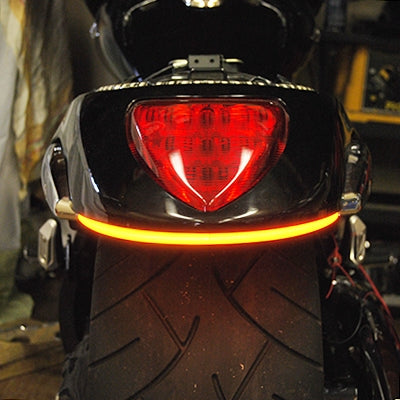
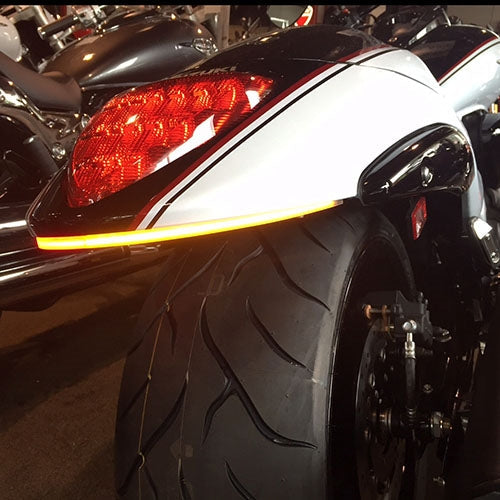
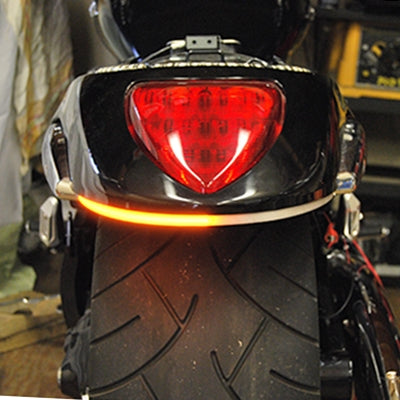
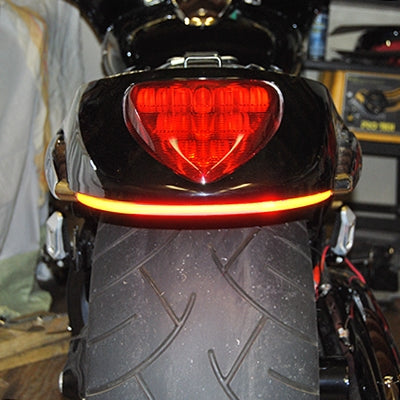
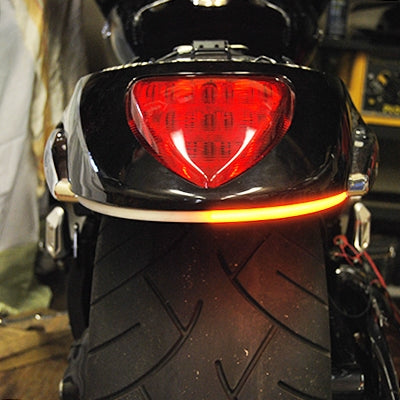
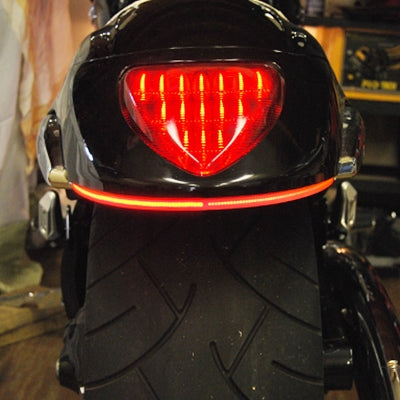
Suzuki M109R Rear LED Turn Signals (2006 - Present)
Turn Signal Color:Amber
Modules:No Thanks
Quantity:

