

Yamaha MT-07 Fender Eliminator Instructions
Yamaha MT-07 Fender Eliminator Installation Instructions
1) Remove (2) seat bolts with a 5mm allen key. (Picture 1)
2) Remove (2) lower bolts on each side pod using a 4mm allen key. (Picture 2)
3) Remove (2) bolts on each side pod using a 12mm socket. (Picture 3)
4) Remove (2) push pins on each side to remove all plastic. (Picture 4)
5) Remove (1) bolt on each side of plastic panel using a 3mm allen key. (Picture 5)
6) Remove (1) bolt on each side of the side pod to completely remove. (Picture 6)
7) Make sure all connectors are unplugged.
8) Remove (2) bolts on each side using a 10mm socket to completely remove stock tail section. You will be reusing these bolts. (Picture 7)
If mounting the standard version:
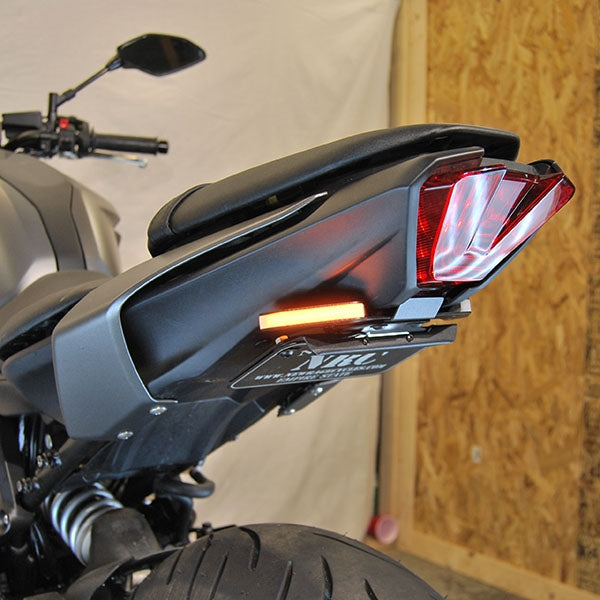
1) Take NRC license plate bracket and mount to the (2) turn signal brackets using M6 bolts and star nuts. You can mount the turn signal brackets first if you prefer using the stock hardware removed in step 7. (Pictures 8/9)
If mounting the tucked version:
1) Take tucked NRC license plate bracket and mount using M6 bolts and nuts, sandwiching the tucked cover plate in between the license plate and turn signal brackets. (Picture 10/11)
To finish installation:
1) Use (2) provided washers, place into top hole where push clip was removed to reinstall push clips. (Picture 12)
2) Remount plastics and side pods.
3) Plug in connectors and test everything.
Shop The Part


New Rage Cycles
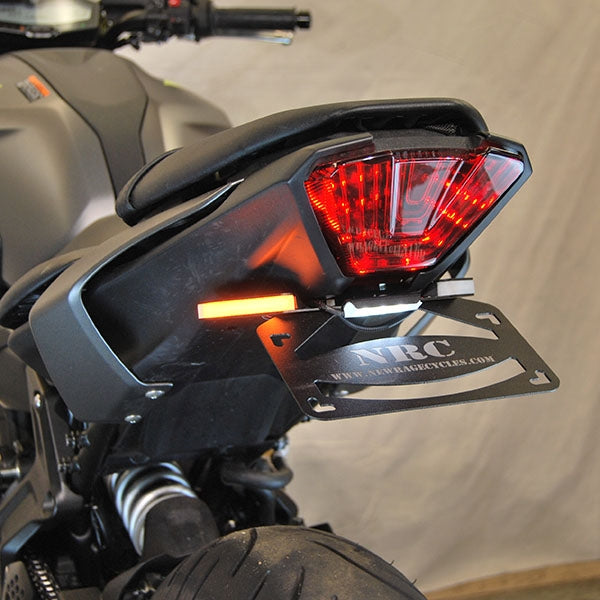
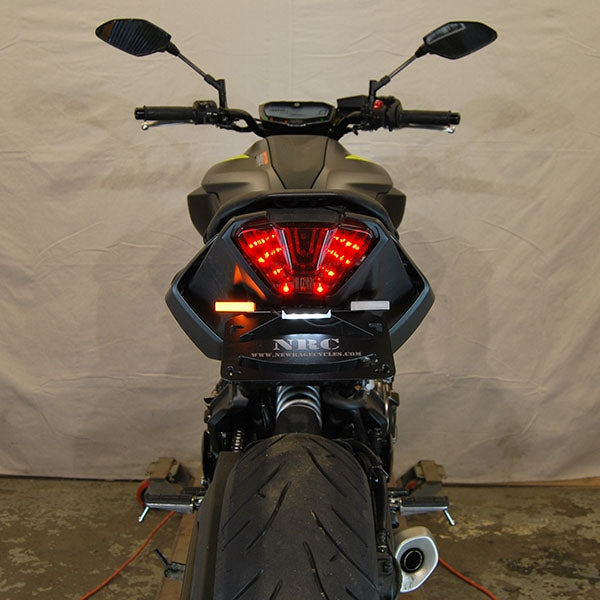
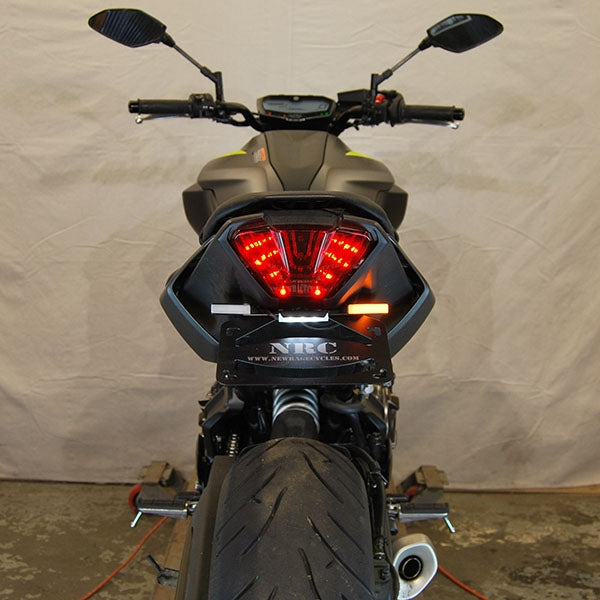
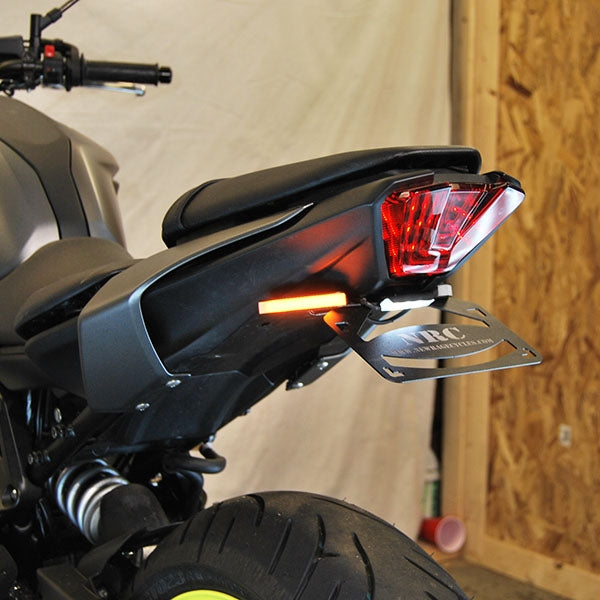
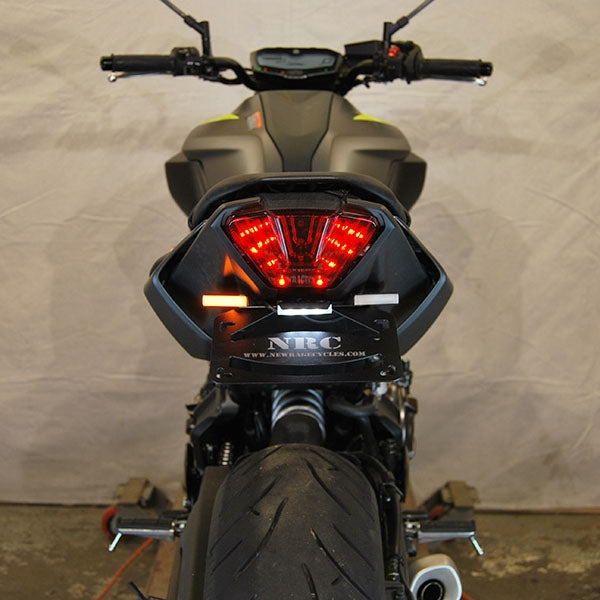
Yamaha MT-07 Fender Eliminator (2018-Present)
- Brightest LED turn signals in the market
- Completely Plug & Play
- Black textured finish for professional look
Our plug & play kit saves you time and money on installation, and lets you plug right in and ride on!