Yamaha MT-09 Front Turn Signals (2017-Present) Installation Instructions
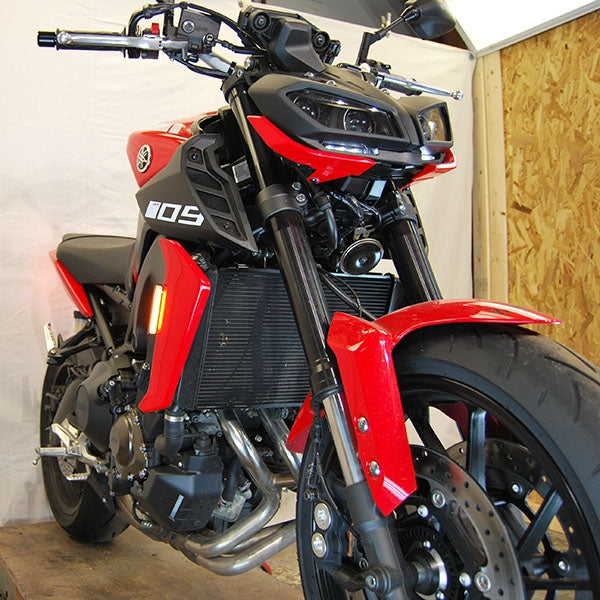
1) Remove side panel bolt using a 4mm allen key. There is one on each side. (Picture 1)
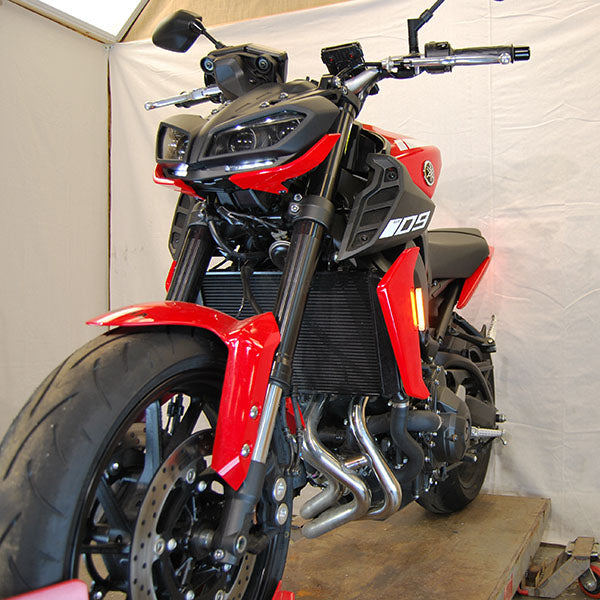
2) Remove (2) push clips on either side of the bike. (Picture 2)
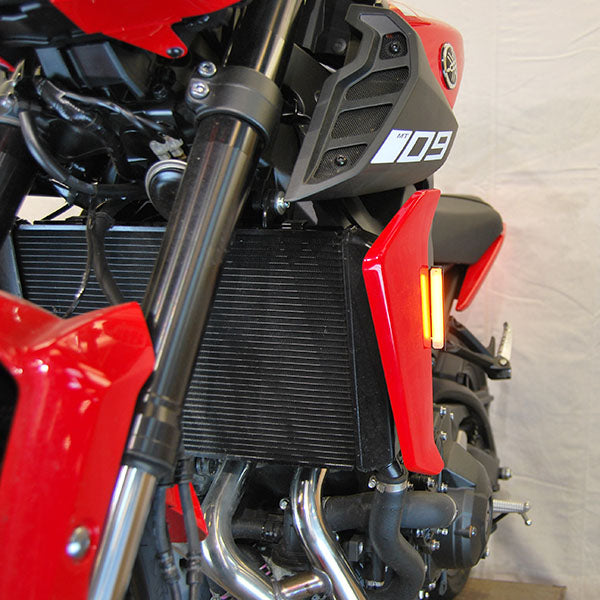
3) Disconnect factory turn signal connectors; one on either side. (Picture 3)
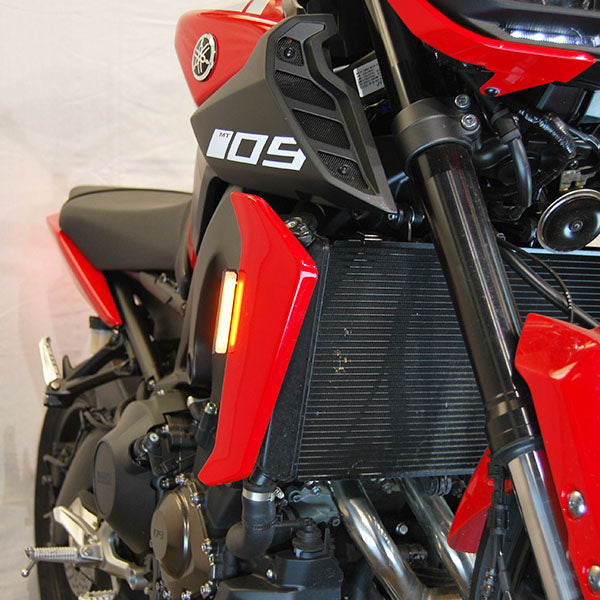
4) Remove radiator cover bolts; two on either side with a 4mm allen key. (Picture 4)
5) Remove (2) turn signal bolts on either side with a 10mm socket. (Picture 5)
6) Remove clip nuts from stock turn signals. (Picture 6)
7) Install clip nuts onto new turn signal bracket. (Picture 7)
8) Install new turn signal bracket with provided M6x10 bolts. (Picture 8/9)
9) Reinstall radiator cover
10) Run connector up to factory harness, plug in, and test turn signals
11) Reinstall side panel with stock bolt.
Subheading
Shop The Part


