
Yamaha MT-09 Side Mount License Plate (2017-Present) instructions
Yamaha MT-09 Side Mount License Plate (2017-Present) Installation instructions
1) Remove 4 bolts with a 4mm allen key. (Picture 1)
2) Remove 2 bolts with a 4mm allen key and 7 push clips with a small flat head screwdriver. You can then remove the left and ride side pods. (Picture 2)
3) Remove 2 bolts with a 4mm allen key. There is 1 bolt on each side. Slide off stock belly pan. (Picture 3)
4) Remove 4 bolts to take out seat lock assembly. Use an 8mm socket and ratchet to do this. (Picture 4)
5) Remove 4 acorn nuts with a 10mm socket, ratchet, and wrench. Also unplug turn signal connectors (black and grey). You may not slide off stock turn signal assembly. (Picture 5)
6) Slide stock belly pan through NRC turn signal assembly and prepare to mount back onto bike. (Picture 6)
7) Reinstall stock bolts to mount belly pan. You removed these bolts in step 3. (Picture 7)
8) Feed connectors through belly pan and mount NRC turn signal assembly using provided M6x16 bolts and thread into panel nuts mounted to the assembly. (Picture 8)
9) Remove bolt with a 4mm allen key, and push clip and slide wire cover back to expose harness. (Picture 9)
10) Unplug white plate light connector. (Picture 10)
11) Remove axle nut and washer with a 27mm socket and ratchet and slide off tag holder assembly. (Picture 11)
If installing tucked version:
1) Take chain block and provided spacer and slide onto axle. Use washer and axle nut and thread on loosely. Adjust the chain accordingly using two 12mm wrenches. (Picture 12/13)
2) Tighten axle nut to 150 Nm (15 m kgf, 108 ft lbf).
3) Remove 2 stock bolts with a 3mm allen key. (Picture 14)
4) Take tucked bracket and provided M5x25 bolts and nylon spacers and mount onto the bike. You must reroute the plate light wire from swing arm to new location and zip tie as necessary. Plug in connector and test. (Picture 15/16)
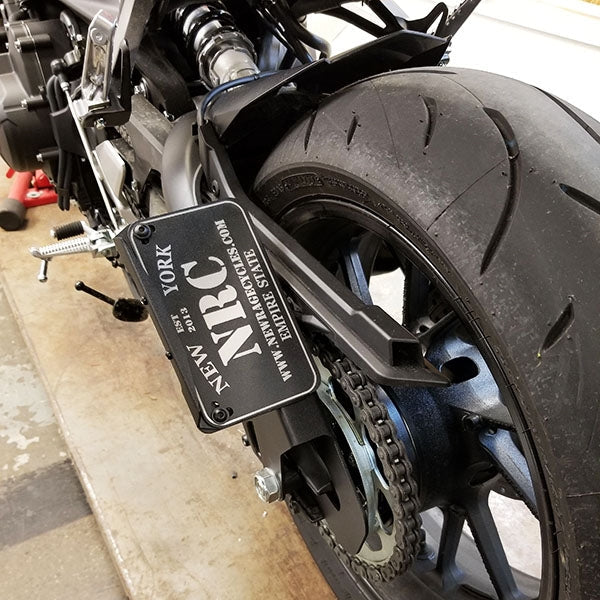
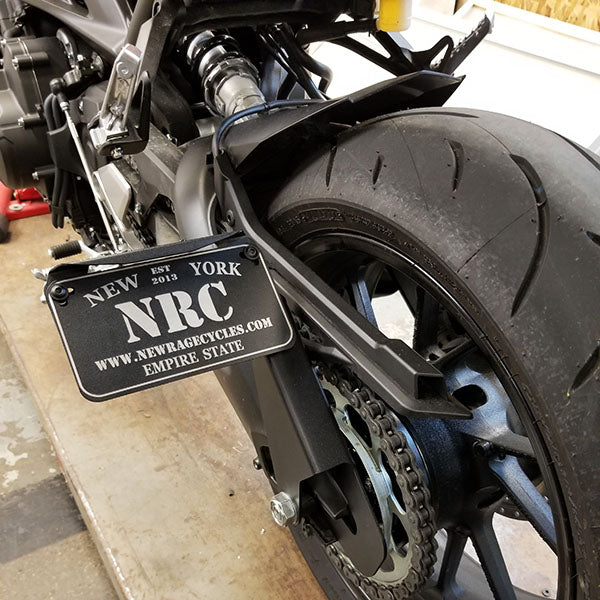
If installing side mount:
1) Install in the following order: Chain block spacer to side mount bracket to washer to axle nut. Leave everything loose. (Picture 17/18/19)
2) Adjust the chain accordingly using two 12mm wrenches.
3) Tighten axle nut to 150 Nm (15 m kgf, 108 ft lbf).
4) Plug in connector and test.
When complete:
1) Reinstall seat lock assembly with stock hardware.
2) Reinstall side pods with stock hardware and push clips.
3) Test turn signals