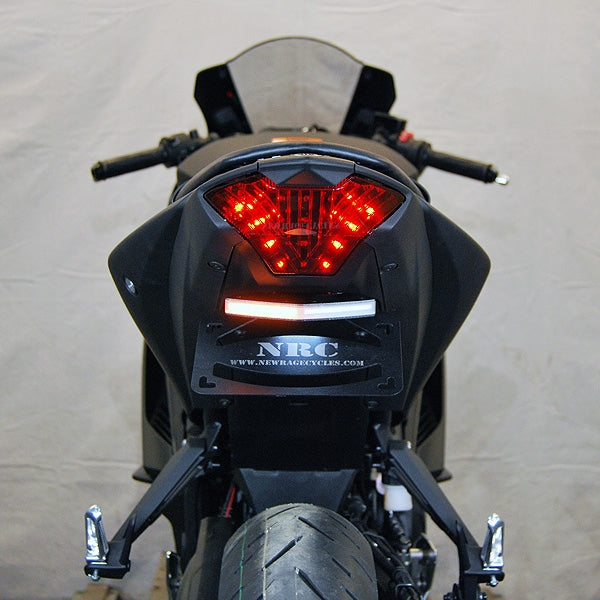
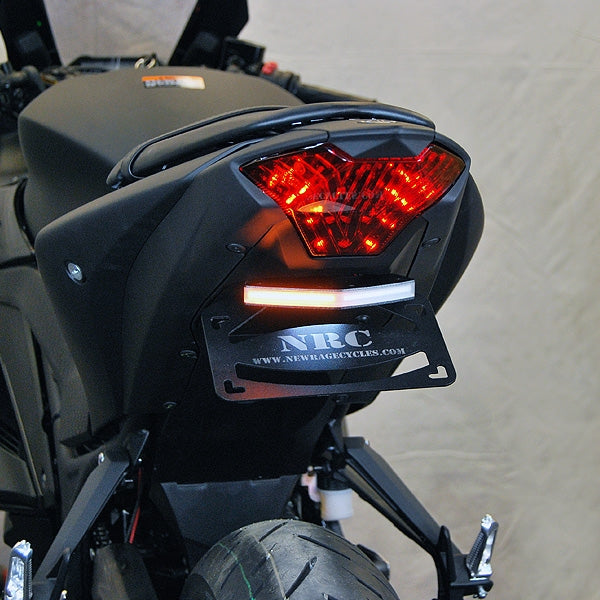
Yamaha R3 Fender Eliminator Installation Instructions
1) Remove (4) pop clips and remove cover underneath the bike. (Picture 1 and 2)
2) Remove pop clips for the inner cover and then remove the (2) screws on the back of the seat. (Picture 3 and 4)
3) Remove (2) seat bolts to expose the tail section harness and unplug con- nectors. (Picture 5 and 6)
4) Remove (2) screws to drop plastic cover. (Picture 7)
5) Remove (6) bolts on the stock tail section. (Picture 8 and 9)
6) Remove (4) nuts and slide off stock tail section. (Picture 10)
7) Prepare your new fender eliminator for installation. The top 2 holes will get the 5/8” long spacers and the lower holes will get the 1/2” long spac- ers. Slide the M6x25 bolts through the sheet metal and spacers, and you may use the push nuts provided to hold all of the hardware together for an easier installation. (Picture 11)
8) Mount the turn signals to the bike using the provided M6 flanged nuts. (Picture 12 and 13)
9) Mount your license plate bracket to the fender eliminator bracket using the provided M6x16 bolts and spacer block. The bolts go through the holes in the license plate, through the spacer and into the nut inserts. (Picture 14)
10) Route all of the wires through the cavity in the tail section and up underneath the seat. (Picture 15)
11) Plug in turn signal and plate light connectors and test everything to ensure they are all working properly.
12) Reinstall all plastics, brackets, and seat.
Subheading
Shop The Part


