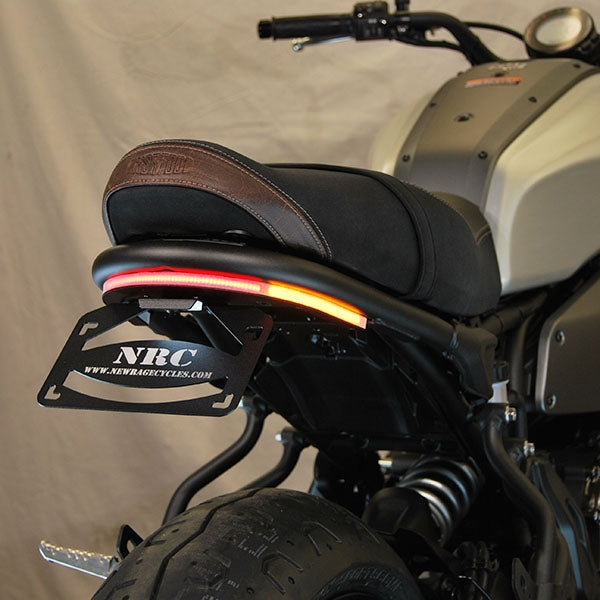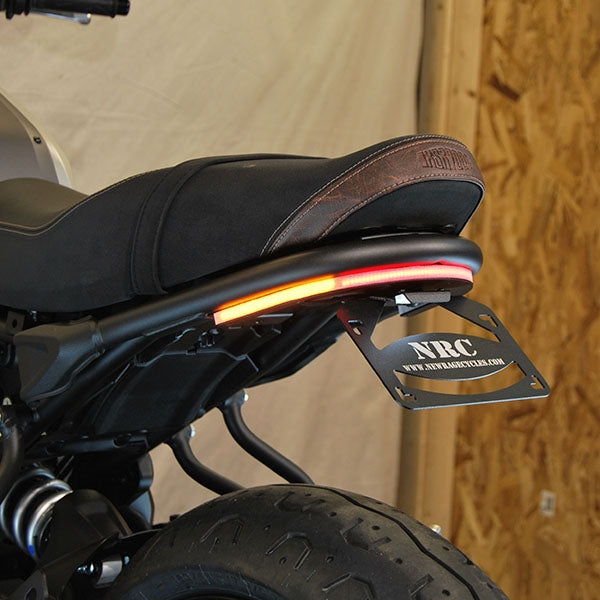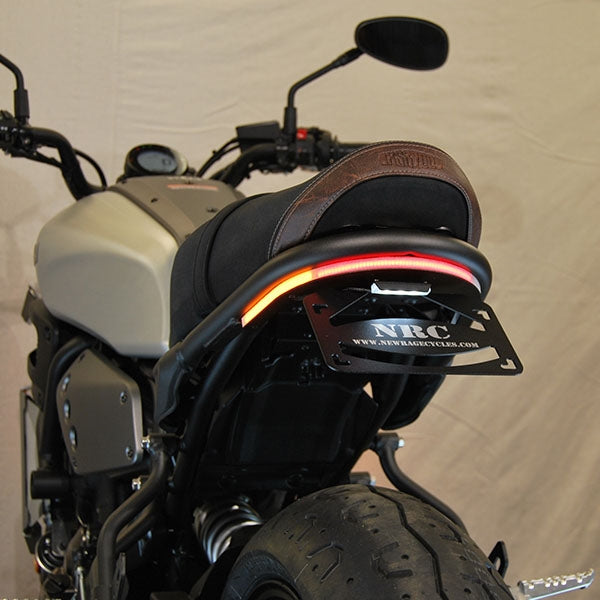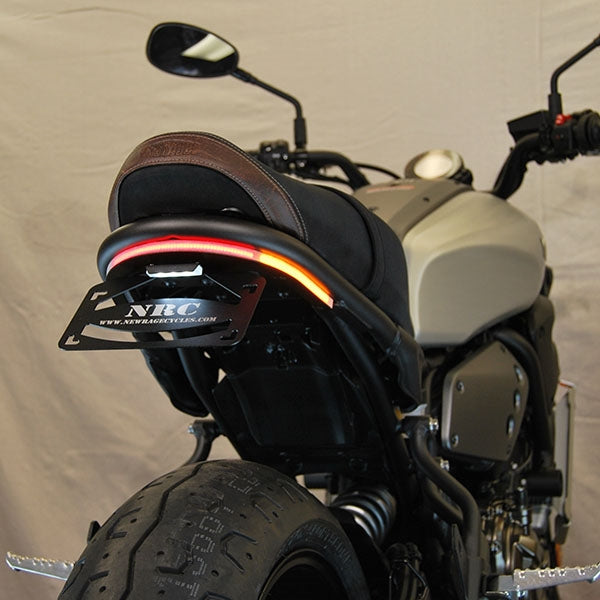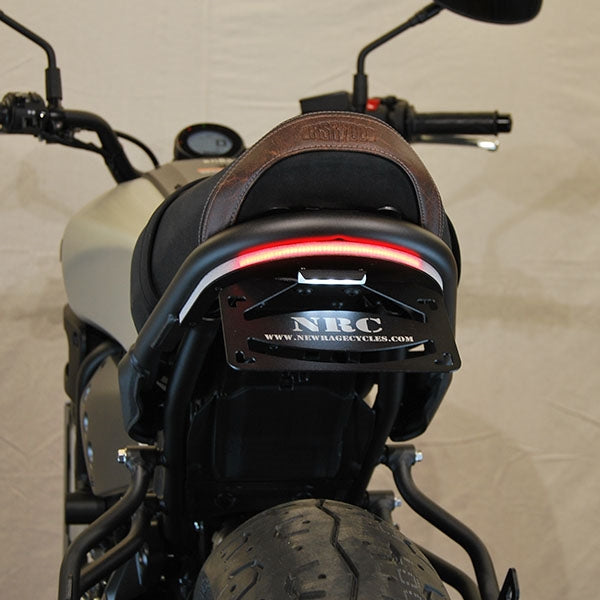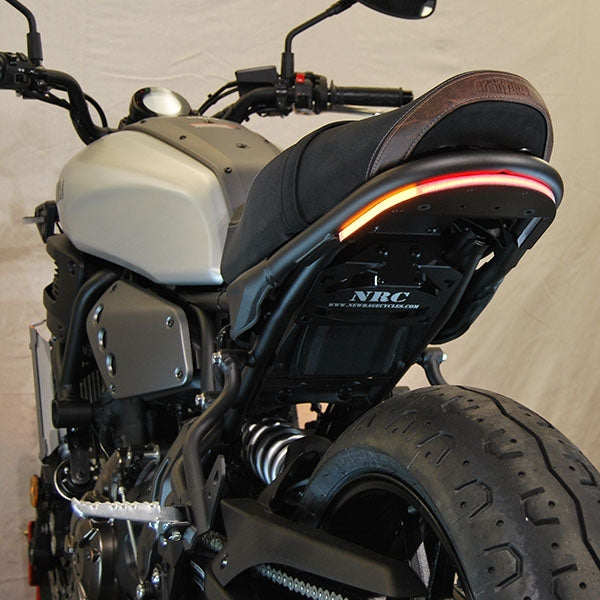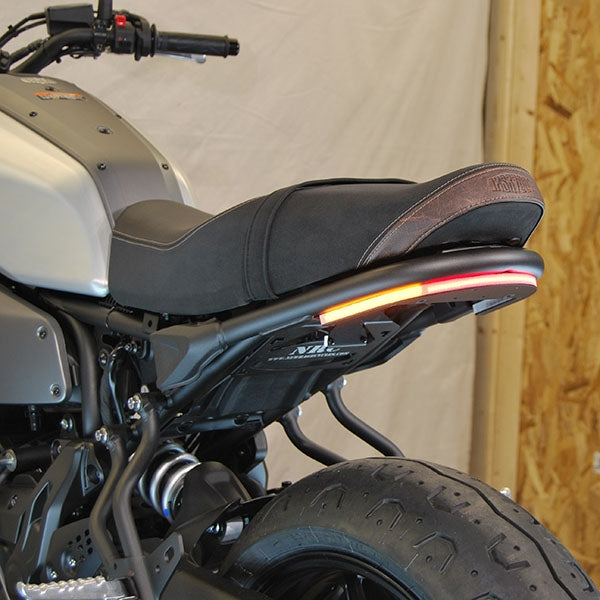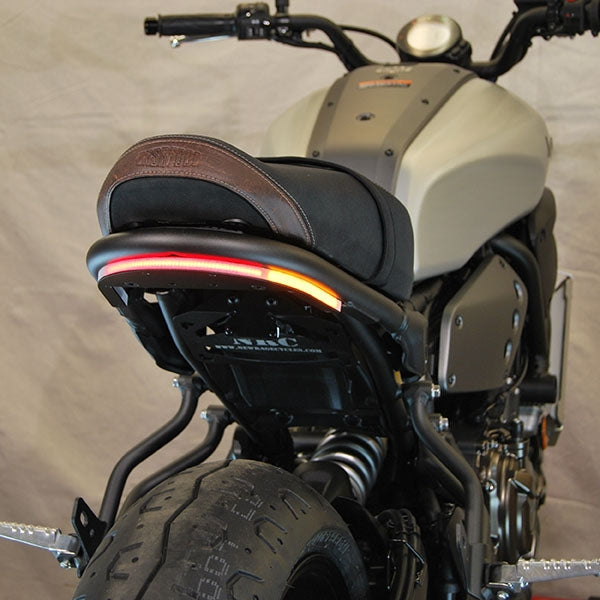

Yamaha XSR 700 Fender Eliminator Instructions
Yamaha XSR 700 Fender Eliminator Installation Instructions
1) Remove (6) bolts using a 4mm allen key. (Picture 1)
2) Unplug (4) stock connectors. (Picture 2)
3) To take off stock tail section, remove (2) bolts closer to the tail light using a 4mm allen key, and (2) lower bolts using a 5mm allen key. (Picture 3)
4) If you ordered the standard version, mount the NRC license plate bracket to the belly pan using (2) M6x30 bolts, the black ABS spacer block and (2) M6 nuts. You will also use (2) black caps to close the holes where the tucked version mounts. (Pictures 4/5/6/7)
5) If you ordered the tucked version, mount the NRC license plate bracket to the belly pan using (2) M6x10 bolts and (2) M6 star nuts. You will also use (2) black caps to close the holes where the standard version mounts. (Pictures 8/9)
6) To mount belly pan to bike, first take (2) M6x30 bolts and (2) .375” black delrin spacers, slide through holes on opposite end to where the tail light will mount, and thread into bike using the (2) M6 nuts, leaving the bolts loose. (Picture 10)
7) Now take (2) 1/4-20 x 1.5” flat head bolts, and (2) white spacers and thread the bracket and lens into the bike using (2) 1/4-20 nuts, once again leaving both bolts loose. (Picture 11)
8) Feed the connectors through body and to the stock location and plug all of them back in. Take the license plate wire and plug them into the other spade connectors provided to you coming off our tail light. Use the (2) pieces of shrink tubing to seal this connection. (Picture 12)
9) Test the tail light, turn signals, and plate light to ensure everything is functioning properly.
10) Tighten all hardware and zip tie any wires necessary.
Subheading
Shop The Part