Yamaha XSR 700 Front Turn Signals Installation Instructions
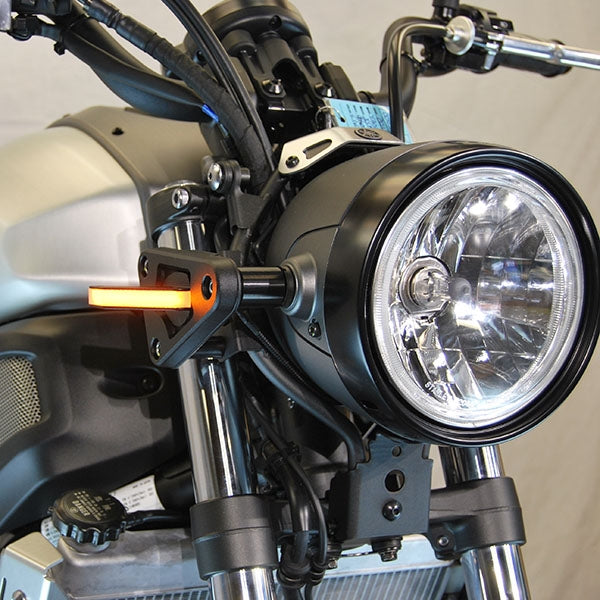
1) Remove (2) bolts on headlight using a 4mm alley key. There is one on each side of the headlight. You can rest the headlight forward. (Picture 1)
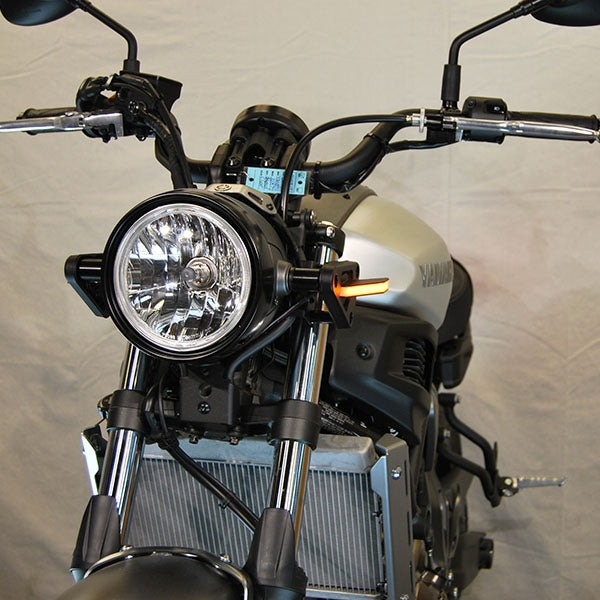
2) Unplug turn signal connectors. (Picture 2)
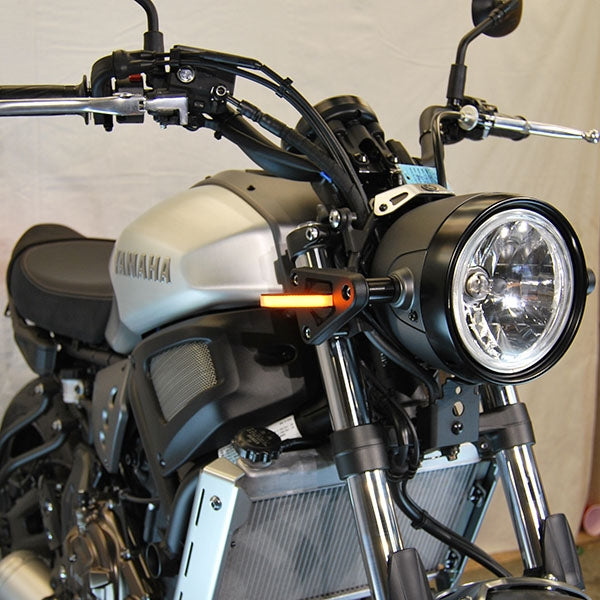
3) Remove clip behind turn signal bracket with a small flat head screwdriver. (Picture 3)
4) Remove (3) bolts using a 6mm allen key. (Picture 4)
5) Take new turn signals, and remove the philips head screw to separate the (2) clear plastic blocks.
6) Mount signal on the outside of the bracket, feed the plastic block through hole, and re-use that philips head screw to secure on the backside. (Picture 5)
7) Repeat on both sides.
Shop The Part
New Rage Cycles
Yamaha XSR 700 Front Turn Signals ( 2016 - Present)
Plug-and-play front LED turn signals for Yamaha XSR 700 riders is now available from New Rage Cycles.
- Brightest LED turn signals in the market
- Completely Plug & Play
- Black textured finish for professional look
Our plug & play kit saves you time and money on installation, and lets you plug right in and ride on!
Optional module that can be added to your order:
- Load equalizer that will slow the flash rate. As is, it will flash a little faster than stock but is not required for product to function properly.
- DrugZ Circuit to make the turn signals a half intensity running light, and full on/off blinker when applied. This options does require splicing an additional wiring module into the turn signals to work properly because of the 3 wire connector on the OEM harness.
( 2016 - Present)